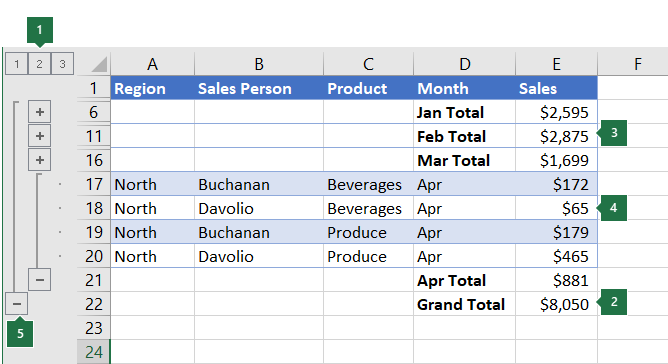
If you have a list of data you want to group and summarize, you can create an outline of up to eight levels. Each inner level, represented by a higher number in the outline symbols, displays detail data for the preceding outer level, represented by a lower number in the outline symbols. Use an outline to quickly display summary rows or columns, or to reveal the detail data for each group. You can create an outline of rows (as shown in the example below), an outline of columns, or an outline of both rows and columns.
1. To display rows for a level, select the appropriate
2. To expand or collapse data in your outline, click the
outline symbols, or press ALT+SHIFT+= to expand and ALT+SHIFT+- to collapse.
Create an outline of rows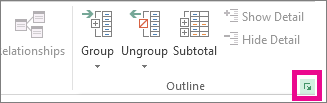
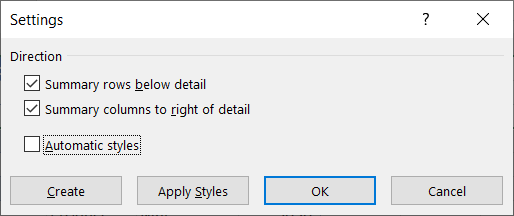
The Settings dialog box opens.
In the Settings dialog box, clear the Summary rows below detail checkbox, and then select OK.
Outline the data manually
Important: When you group outline levels manually, it's best to have all data displayed to avoid grouping the rows incorrectly.
Tip: If you select entire rows instead of just the cells, Excel automatically groups by row - the Group dialog box doesn't even open.
For each inner, nested group, select the detail rows adjacent to the row that contains the summary row.
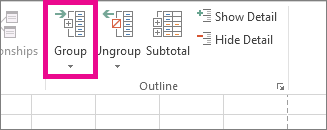
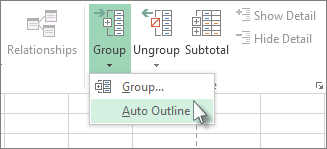
Go to Data >Outline >Group >Group.
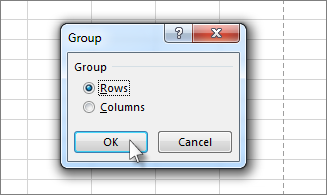
In the Group dialog box, select Rows, and then select OK. The outline symbols appear beside the group on the screen.
Tip: If you select entire rows instead of just the cells, Excel automatically groups by row - the Group dialog box doesn't even open.
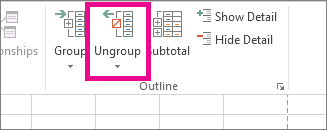
for the group, and then go to Data > Outline > Ungroup > Ungroup.
Important: If you ungroup an outline while the detail data is hidden, the detail rows could remain hidden. To display the data, drag across the visible row numbers adjacent to the hidden rows. Then go to Home > Cells > Format, and point to Hide & Unhide, and then select Unhide Rows.
Create an outline of columnsNote: To outline data by columns, you must have summary columns that contain formulas that reference cells in each of the detail columns for that group.
If your summary column is to the left of the detail columns, go to Data >Outline, and then select the dialog box launcher.
The Settings dialog box opens.
Outline the data manually
Important: When you manually group outline levels, it's best to have all data displayed to avoid grouping columns incorrectly.
Go to Data >Outline >Group >Group.
Go to Data >Outline >Group.
You can also ungroup sections of the outline without removing the entire level. Hold down SHIFT while you select the
for the group, and then go to Data > Outline > Ungroup.
If you ungroup an outline while the detail data is hidden, the detail columns can remain hidden. To display the data, drag across the visible column letters adjacent to the hidden columns. Go to Home > Cells > Format, point to Hide & Unhide, and then select Unhide Columns.
Show or hide outlined dataoutline symbols, select the number of the level that you want. Detail data at lower levels is then hidden. For example, if an outline has four levels, you can hide the fourth level while displaying the rest of the levels by selecting
outline symbols. For example, if there are three levels, select
Customize an outline with stylesFor outlined rows, Microsoft Excel uses styles such as RowLevel_1 and RowLevel_2 . For outlined columns, Excel uses styles such as ColLevel_1 and ColLevel_2. These styles use bold, italic, and other text formats to differentiate the summary rows or columns in your data. By changing the way each of these styles is defined, you can apply different text and cell formats to customize the appearance of your outline. You can apply a style to an outline either when you create the outline or after you create it.
Do one or more of the following:
Automatically apply a style to new summary rows or columns
The Settings dialog box opens.
Apply a style to an existing summary row or column
The Settings dialog box opens.
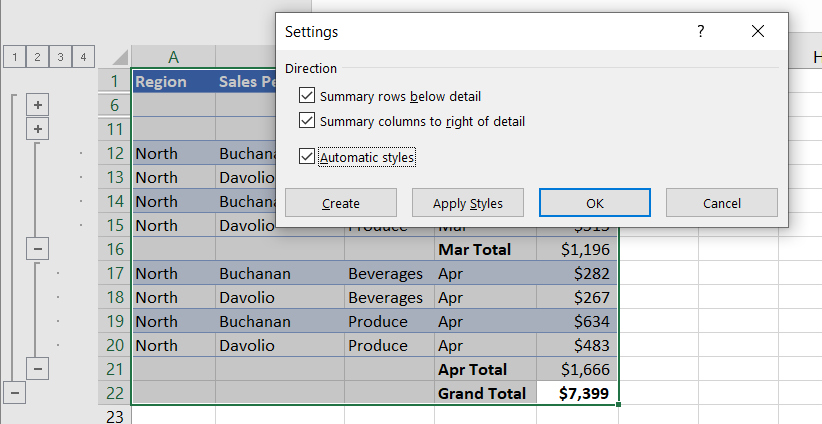
Select the Automatic styles check box, and then select Apply Styles.
You can also use autoformats to format outlined data.